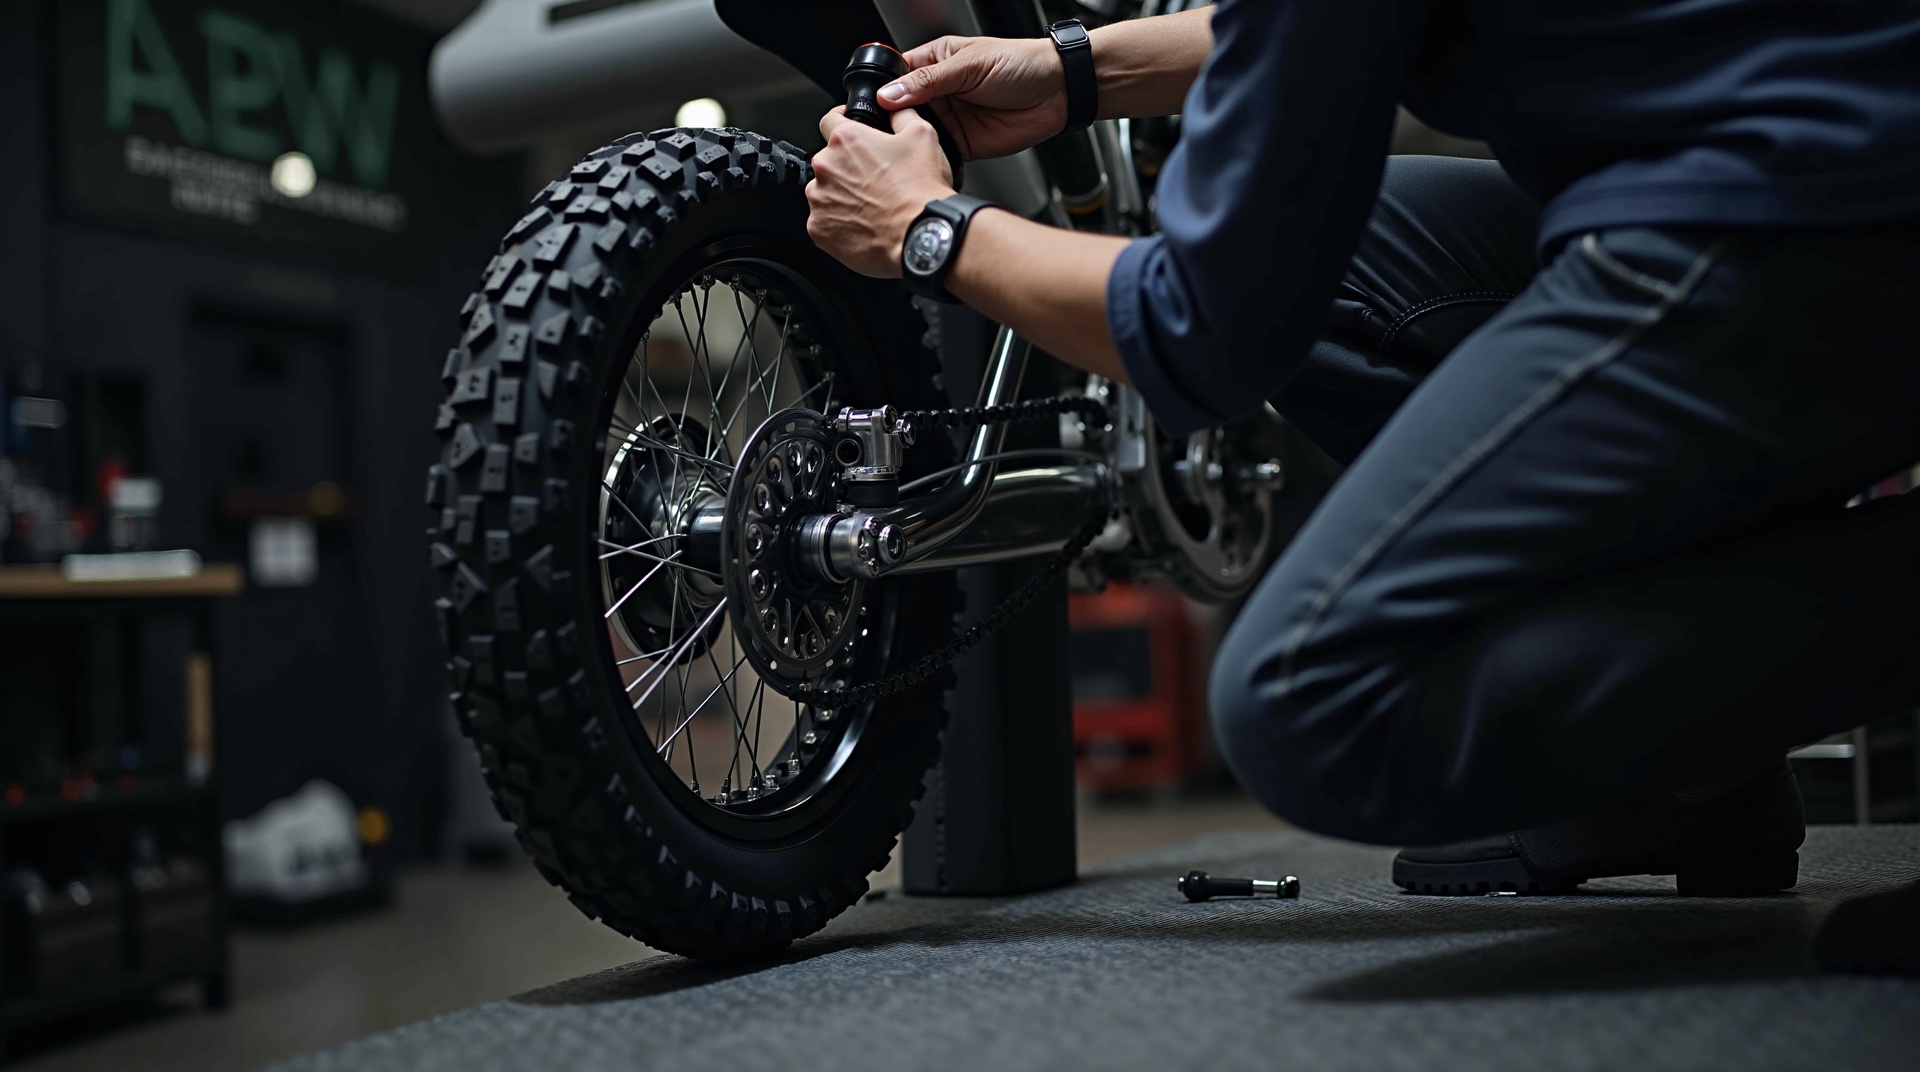
Installation Guide
Step-by-step guide on how to install adjustable foot pegs on electric dirt bikes.
Fits Sur-Ron, Talaria & E Ride Pro. Tools, setup tips, and safety notes included.
Compatible Electric Dirt Bikes
TrailKnox adjustable foot pegs are designed to fit the following electric dirt bikes
Sur-Ron Light Bee X
Sur-Ron Ultra Bee
Talaria MX3/MX4/MX5
E Ride Pro

Segway X160/X260
If you are unsure about compatibility, please contact us before installation.
Tools You'll Need
Before starting, gather the following tools
Required Tools
Socket Wrench
Typically 10mm / 12mm depending on model
Allen / Hex Key Set
Various sizes for adjustment bolts
Thread Locker
Medium-strength (recommended)
Clean Rag
For cleaning and wiping
Optional but Recommended
Torque Wrench
For precise tightening
Safety Gloves
Protect your hands
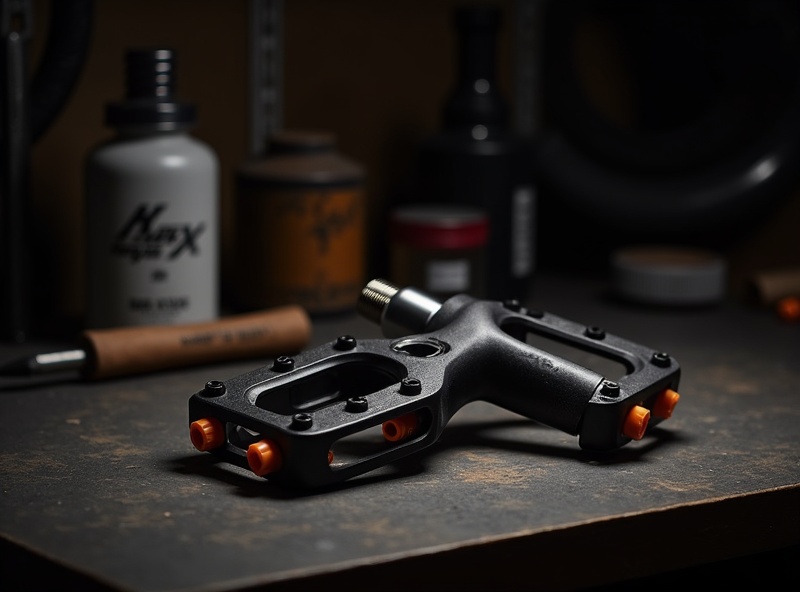
What's Included in the Box
Each TrailKnox adjustable foot peg set includes everything you need
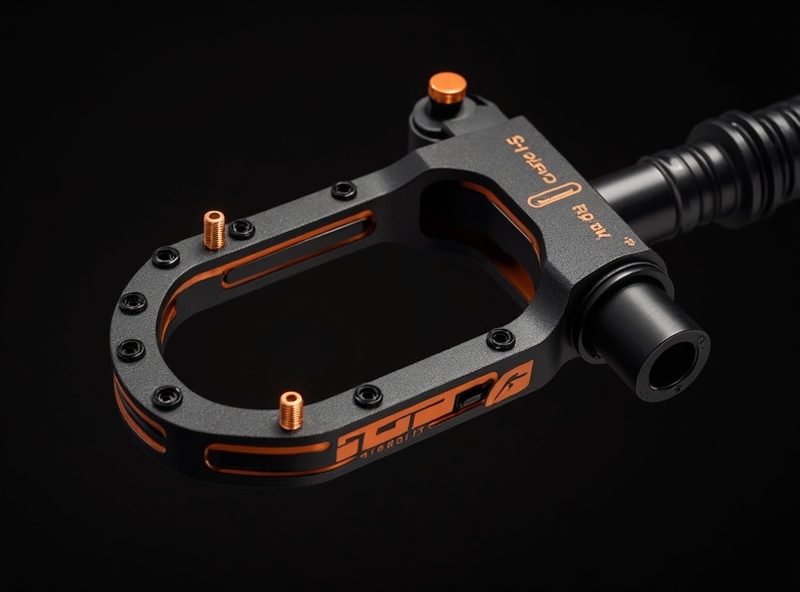
Left Adjustable Foot Peg
CNC-machined 6061-T6 aluminum
Right Adjustable Foot Peg
CNC-machined 6061-T6 aluminum
Mounting Hardware
All necessary bolts and washers
Replaceable Grip Pins
Hardened steel for maximum grip
TrailKnox Sticker
Show your upgrade
Step-by-Step Installation
Follow these simple steps to install your TrailKnox adjustable foot pegs
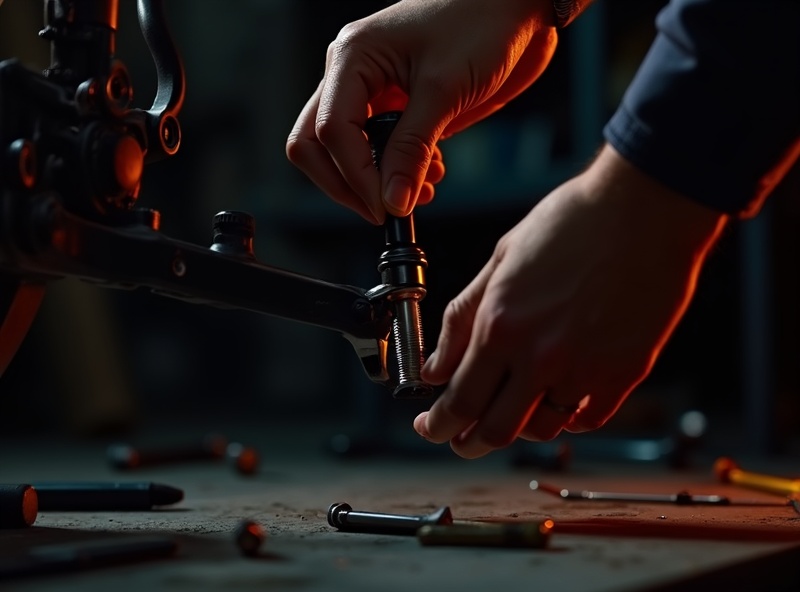
Remove the Stock Foot Pegs
Place the bike on a stable stand or kickstand. Locate the foot peg pivot bolt and retaining clip. Carefully remove the bolt and spring, then remove the stock foot peg.
Prepare the TrailKnox Foot Pegs
Confirm left and right pegs. Check that grip pins are properly seated. Apply a small amount of thread locker to mounting bolts (recommended).
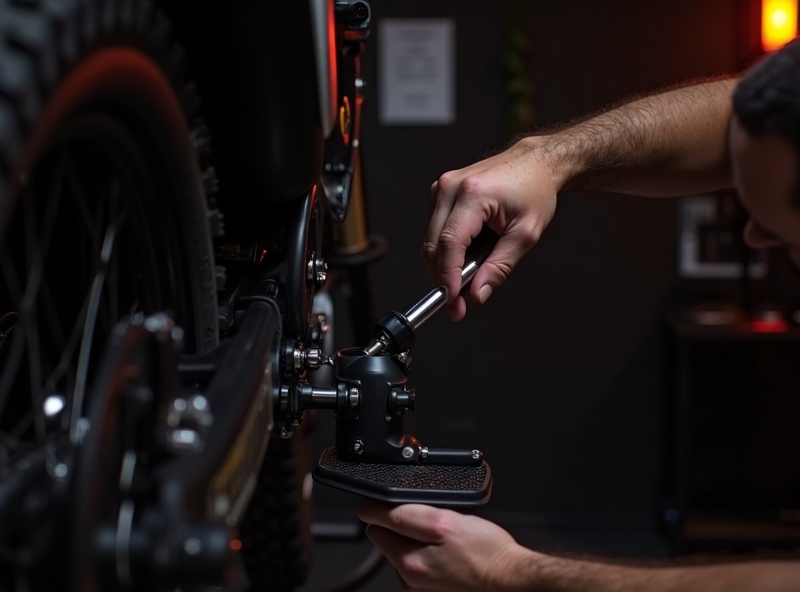
Install the TrailKnox Foot Pegs
Align the foot peg with the factory mounting point. Reinstall the spring in the correct orientation. Insert the pivot bolt through the foot peg. Tighten the bolt securely, but do not overtighten.
Set Your Foot Peg Angle
TrailKnox adjustable foot pegs allow you to choose between multiple angle settings: 0° for neutral position, +7° for improved leverage, or +14° for maximum control. Adjust according to your riding style.
Final Check
Setup Tips for Best Performance
Choose the right angle setting for your riding style and terrain
Neutral Position
Best for mixed riding and general trail use. Start here if you are new to adjustable pegs.
Improved Leverage
Enhanced balance and control for general trail riding. Most popular setting among riders.
Maximum Control
Optimal for technical terrain, steep climbs, and wheelies. For experienced riders.
Angle Adjustment Recommendations
Start Conservative
Begin at 0° if you are new to adjustable pegs and gradually increase angle as you adapt
Test Between Rides
Increase angle gradually and test between rides to find your optimal setting
Match Your Terrain
Use +7° for general trail riding and +14° for technical terrain and steep climbs
Personal Preference
Every rider is different — small adjustments can make a big difference in comfort
Safety Notes
Important safety information for installation and use
Important Safety Warning
Always wear appropriate safety gear including helmet, gloves, boots, and protective clothing when riding. Ensure all components are properly installed and tightened before each ride. If you are unsure about any aspect of installation, consult a professional mechanic.
Off-Road Use Only
TrailKnox foot pegs are designed for off-road use only. Always follow local regulations.
Verify Installation
Always verify proper installation before riding. Check all bolts and connections.
Regular Inspection
Periodically inspect bolts and grip pins. Replace damaged grip pins immediately.
Ride Responsibly
Ride within your skill level. Take time to adjust to new foot peg angles.
Common Installation Questions
Find answers to frequently asked questions about installation
No. Basic hand tools are sufficient for installation. You will need a socket wrench (typically 10mm/12mm), Allen/hex key set, and optionally a torque wrench for precise tightening.
Most riders complete installation in 10–15 minutes. The process is straightforward and requires no permanent modifications to your bike.
Yes. Angle adjustments can be made after installation without removing the pegs. This allows you to fine-tune your setup based on riding conditions and personal preference.
Medium-strength thread locker is recommended for off-road riding to prevent bolts from loosening due to vibration and impact.
TrailKnox adjustable foot pegs are compatible with Sur-Ron Light Bee X, Sur-Ron Ultra Bee, Talaria MX3/MX4/MX5, E Ride Pro, and Segway X160/X260. If you are unsure about compatibility, please contact us.
Replacement grip pins are available separately. Contact us for replacement parts. Always inspect grip pins regularly and replace if damaged.
Installation is designed to be DIY-friendly for riders with basic mechanical skills. However, if you are unsure about any aspect of installation, we recommend consulting a professional mechanic.
No. You only need to remove the stock foot peg itself. The mounting bracket and pivot point remain on the bike, making installation quick and straightforward.
Watch the Installation Video
Follow along with our detailed video guide for step-by-step installation instructions
What You'll Learn

Upgrade Your Setup
Ride with better footing, improved balance, and confidence on technical terrain.
Built to Take the Hit.